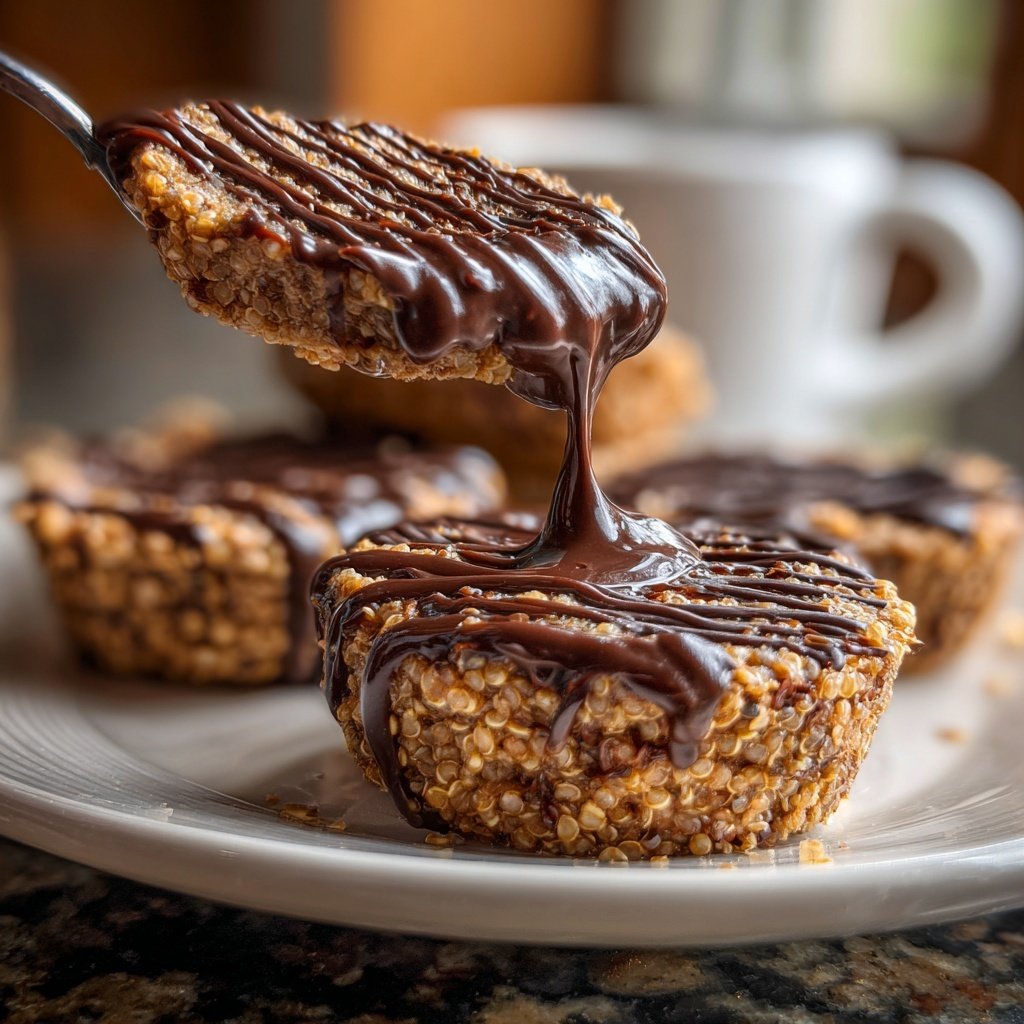
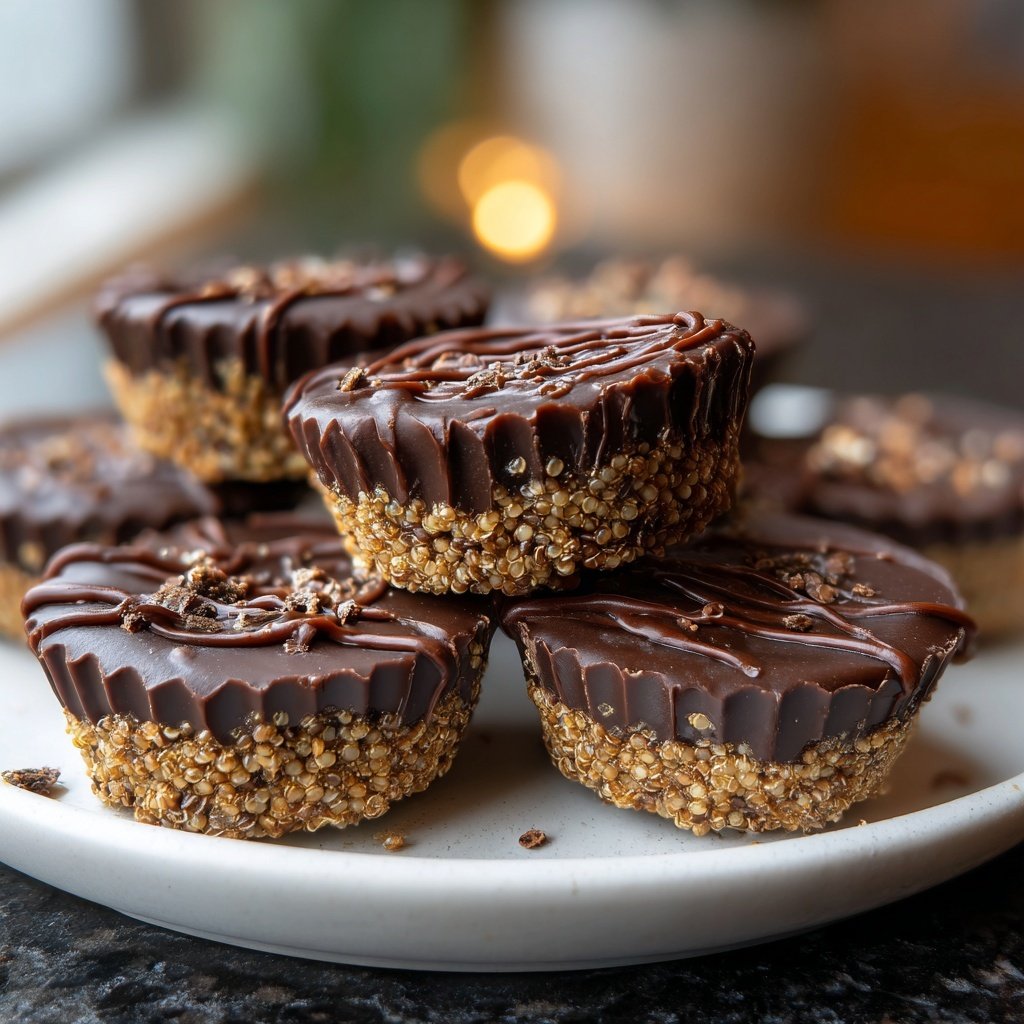
Homemade Peanut Butter Cups with Crunchy Quinoa
Uitgelicht onder: Bakplezier
I absolutely love making my own candy, and these Homemade Peanut Butter Cups with Crunchy Quinoa are a true delight! The combination of smooth peanut butter and crunchy quinoa creates a heavenly texture that’s both satisfying and fun to eat. Plus, making them at home means I can control the ingredients and indulge without the guilt of preservatives and artificial flavors. It's an easy recipe, and I can't help but share it whenever I have friends over; they never fail to be impressed!
When I first decided to make these peanut butter cups, I was skeptical about using quinoa. I was surprised at how it added a delightful crunch that completely transformed the texture. It complements the rich, creamy peanut butter perfectly. Plus, by using dark chocolate, I can enjoy them with less sugar without sacrificing flavor!
After perfecting my method, I discovered that slightly chilling the peanut butter mixture before assembling helps keep it firm and prevents it from melting into the chocolate. This little tip has been crucial in creating the perfect homemade treat that everyone loves!
Why You'll Love These Peanut Butter Cups
- Decadent chocolate coating with a nutty surprise inside
- Nutrient-rich quinoa that adds crunch and a healthy twist
- Easily customizable with your favorite toppings or fillings
Perfecting The Filling
The filling for these peanut butter cups is what truly sets them apart. The combination of creamy peanut butter and the subtle sweetness from honey or maple syrup gives it a rich flavor that perfectly complements the dark chocolate. Be sure to use natural peanut butter without added sugars or stabilizers for the best taste and texture. Mixing in cooled cooked quinoa not only adds a delightful crunch but also boosts the nutritional profile, providing protein and fiber. If you're looking for an alternative to quinoa, try crushed nuts or puffed rice for a different texture but keep in mind the flavor will change slightly.
When it comes to mixing the filling, use a medium bowl and a sturdy spatula for thorough incorporation. This ensures that the honey or maple syrup is evenly distributed, which helps bind the ingredients together. If you find the mixture to be too runny, let it chill for a few minutes before assembling the cups. I recommend tasting the filling before you proceed; adjusting the sweetness with additional syrup can create a custom flavor profile that suits your palate.
Melting Chocolate Like a Pro
Melting the chocolate properly is critical to achieving that glossy, professional-looking finish on your peanut butter cups. Use a microwave-safe bowl and microwave the dark chocolate chips and coconut oil in small intervals to prevent overheating. Stirring in between helps distribute the heat evenly. If your chocolate seizes or becomes lumpy, try adding a teaspoon of coconut oil or vegetable shortening to smooth it out. Avoid using water, as this can cause the chocolate to clump and become unusable.
For a richer flavor, consider using high-quality dark chocolate with at least 70% cocoa content. This will enhance the overall flavor experience when paired with the sweet peanut butter filling. You can also experiment with flavored chocolate, such as almond or hazelnut, to introduce a unique twist. Remember, the key to a perfect melt is patience; keep an eye on the chocolate to avoid unnecessary lumps or burning!
Storage and Serving Suggestions
Once you've made your peanut butter cups, you can store them in an airtight container in the refrigerator for up to two weeks. For longer storage, consider placing parchment paper between layers if stacking them in a container to avoid sticking. You can also freeze these cups; just make sure they are well-wrapped to prevent freezer burn. To enjoy, simply take them out of the freezer and let them sit at room temperature for a few minutes for the best texture.
These homemade peanut butter cups can be dressed up for special occasions. Try sprinkling a pinch of sea salt on top of the melted chocolate before refrigerating for an added flavor punch. Alternatively, you can customize them by folding in mix-ins like shredded coconut, chopped dried fruits, or even a dash of cinnamon to the filling. Each variation will provide a new taste adventure!
Ingrediënten
Ingredients
For the Peanut Butter Filling
- 1 cup creamy peanut butter
- 1/4 cup honey or maple syrup
- 1/2 cup cooked quinoa, cooled
- 1 teaspoon vanilla extract
- Pinch of salt
For the Chocolate Coating
- 1 cup dark chocolate chips
- 1 tablespoon coconut oil
Make sure to have silicone molds ready for easy removal once set.
Bereidingswijze
Instructions
Prepare the Filling
In a mixing bowl, combine peanut butter, honey or maple syrup, quinoa, vanilla extract, and salt. Mix well until all ingredients are fully incorporated.
Melt the Chocolate
In a microwave-safe bowl, melt the dark chocolate chips and coconut oil in 30-second intervals, stirring in between until smooth.
Assemble the Cups
Pour a thin layer of melted chocolate into the bottom of each silicone mold. Add a spoonful of the peanut butter filling, then cover with more melted chocolate until fully enclosed.
Chill and Set
Refrigerate the molds for about 15 minutes or until the chocolate is fully set. Once firm, gently remove the cups from the molds.
Serve and Enjoy
Enjoy your delicious homemade peanut butter cups, either cold or at room temperature!
These treats can be stored in an airtight container in the refrigerator.
Professionele Tips
- Feel free to experiment by adding crushed nuts or dried fruits into the peanut butter mix for extra flavor and texture!
Variations to Try
If you want to switch things up, consider experimenting with different nut butters like almond or cashew in place of peanut butter. Each nut butter will lend a distinct flavor and texture to your homemade cups. You can also thin the filling slightly with a touch of melted coconut oil or milk if you prefer a smoother consistency. Enjoy the versatility these creations offer by mixing different flavors and textures into your sweet treats.
For those with dietary restrictions, these peanut butter cups can be made vegan by using dairy-free chocolate. Brands like Enjoy Life offer great dark chocolate options without animal products. Additionally, swapping out sweeteners for agave syrup or a sugar-free alternative can cater the recipe for stricter diets. Just ensure you adjust the proportions carefully as sweetness levels can vary.
Troubleshooting Common Issues
One common issue when making homemade chocolate cups is the chocolate not setting correctly. This can happen if the chocolate is too warm when poured into the molds or if the molds were not chilled beforehand. For a perfect set, refrigerate the molds for about 10 minutes before pouring in the chocolate. If your peanut butter filling is too runny, try refrigerating it for a bit before assembling the cups. This will help it hold its shape better.
Another thing to keep in mind is that if you find your chocolate has bloomed (a white powdery appearance), it can still be used! This blooming occurs due to temperature changes and while it doesn’t affect safety, it may slightly alter the texture. If this happens, just give it a stir and use it as the coating for your peanut butter cups. The taste will remain delightful, regardless of appearance.
Vragen Over Recepten
→ Can I use different types of nut butters?
Absolutely! Almond butter or cashew butter work wonderfully as substitutes.
→ How long do these peanut butter cups last?
They can be stored in the refrigerator for up to 2 weeks.
→ Can I make these vegan?
Yes! Use a plant-based sweetener and ensure the chocolate is dairy-free.
→ What can I use instead of quinoa?
You can try using crispy rice cereal or crushed nuts for a different texture.
Homemade Peanut Butter Cups with Crunchy Quinoa
Wat je Nodig Hebt
For the Peanut Butter Filling
- 1 cup creamy peanut butter
- 1/4 cup honey or maple syrup
- 1/2 cup cooked quinoa, cooled
- 1 teaspoon vanilla extract
- Pinch of salt
For the Chocolate Coating
- 1 cup dark chocolate chips
- 1 tablespoon coconut oil
Stappen
In a mixing bowl, combine peanut butter, honey or maple syrup, quinoa, vanilla extract, and salt. Mix well until all ingredients are fully incorporated.
In a microwave-safe bowl, melt the dark chocolate chips and coconut oil in 30-second intervals, stirring in between until smooth.
Pour a thin layer of melted chocolate into the bottom of each silicone mold. Add a spoonful of the peanut butter filling, then cover with more melted chocolate until fully enclosed.
Refrigerate the molds for about 15 minutes or until the chocolate is fully set. Once firm, gently remove the cups from the molds.
Enjoy your delicious homemade peanut butter cups, either cold or at room temperature!
Extra Tips
- Feel free to experiment by adding crushed nuts or dried fruits into the peanut butter mix for extra flavor and texture!
Voedingswaarde (Per Portie)
- Calories: 200 kcal
- Total Fat: 14g
- Saturated Fat: 4g
- Cholesterol: 0mg
- Sodium: 50mg
- Total Carbohydrates: 18g
- Dietary Fiber: 2g
- Sugars: 10g
- Protein: 5g